How to solve the 3x3 Rubik's Cube | Beginner Friendly
A Rubik's Cube has 43 quintillion possible arrangements, and exactly one of them is solved. That number scares most people off. It shouldn't. You never memorize positions. You learn a handful of short move sequences, repeat them in order, and the cube solves the same way every time. This guide takes you from fully scrambled to solved with the beginner's layer-by-layer method: first layer, middle layer, last layer. Work through it once with a cube in your hand and it sticks.
If you'd rather follow along on video, here's the full walkthrough. The written steps below match it one to one.
First, the notation
Every sequence below is written in cube notation. Each letter means "turn one face." Hold the cube with one side facing you:
- R, L, U, D, F, B turn the Right, Left, Up, Down, Front, or Back face clockwise (clockwise as if you were looking straight at that face)
- A mark like R' means turn that face counterclockwise instead
- A number like R2 means turn that face twice

That's the whole language. Six letters and two modifiers.
Step 1 — The white cross
Start with the white center on top and build a white plus sign around it. The catch that trips up every beginner: each white edge piece has a second color, and that second color has to line up with the matching center next to it. An edge is a piece with two colors.
- Find a white edge in the bottom layer. Look at its other color.
- Turn the bottom layer until that edge sits directly under the center of the same color.
- Turn that face twice to bring the edge up into the cross.

Do all four, then turn the whole cube over so the white cross is on the bottom. It stays there for the rest of the solve.
Step 2 — The first layer
Now finish the white face by dropping in its four corners. A corner is a piece with three colors. This step introduces the sequence you'll lean on for the rest of the solve, so learn it now:
R U R' U'
- Find a corner with white on it in the top layer. Turn the top so the corner sits above the spot where it belongs, between its two matching centers.
- Hold the cube so that corner is at the top front-right.
- Do R U R' U' and repeat until the corner drops in with white on the bottom. It can take a few passes. That's normal.

Step 3 — The middle layer
White stays on the bottom. Now place the four middle edges. Look in the top layer for an edge with no yellow on it (yellow is the color opposite white). Turn the top so the edge's front color matches the center below it, making an upside-down T. Then check its top color: send it toward the side it matches.


To send it right:
U R U' R' U' F' U F
To send it left:
U' L' U L U F U' F'
Repeat until all four middle edges are in. If an edge is stuck facing the wrong way, run either sequence to knock it out into the top, then place it correctly.
Step 4 — The yellow cross
The last layer is yellow. First, make a yellow cross on top. Ignore the corners and look only at the yellow edges. You'll see one of these:


Run this sequence, holding an L in the top-left or a line horizontally:
F R U R' U' F'
A dot becomes an L or a line, and an L or line becomes the cross. Repeat until the cross is complete. The corners can look scrambled. That's fine.
Step 5 — Match the cross colors
The yellow cross is up, but the side colors of those edges may not match their centers. Turn the top face until at least two of them line up. Hold the two matching edges at the back and right, then run the sequence and turn the top to line up all four.

R U' R U R U R U' R' U' R2
If only two match after the first pass, repeat the step.
Step 6 — Position the corners
Now get the yellow corners into the right spots, twist aside. A corner is correctly positioned when its three colors match the three centers around it, even if yellow isn't up yet. Find one that's already right and hold it at the front-right (if none are, hold any corner there).

U R U' L' U R' U' L
Repeat, always holding a correct corner at the front-right, until all four are in place.
Step 7 — Orient the corners
Every piece is now in place. The last job is to twist the final corners so yellow faces up. Read this fully first, because it's the easiest place to slip.
- Turn the whole cube over so the unsolved corners are on the bottom.
- Hold an unsolved corner at the front-right and repeat this until yellow faces down on it:
R' D' R D

- The rest of the cube looks scrambled mid-step. It comes back.
- Then turn only the bottom layer to bring the next unsolved corner to the front-right. Never turn the whole cube.
- Repeat until every corner is solved, then line up the bottom layer. Done.
Two mistakes to avoid: rotating the whole cube instead of just the bottom layer between corners, and stopping R' D' R D early because a corner looks solved partway through. Always finish the full sequence.
Watch a full solve
If any step didn't click, here's a complete beginner solve from start to finish.
Now put it to work
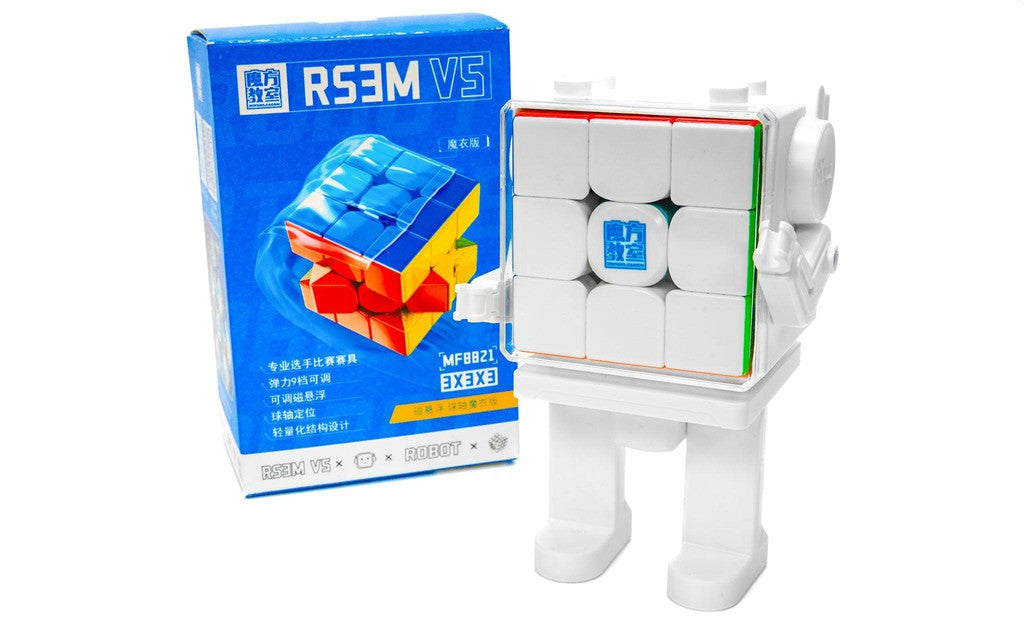
The method is the same on any 3x3, but a good cube makes it easier to learn on. A smooth, magnetic 3x3 turns cleanly and corner-cuts when your fingers aren't precise yet, so the cube stops fighting you while the moves become second nature.


Popular right now